How to Propagate: Cacti Cuttings

Cactus propagation is quite a simple process, but it does take some time, so be prepared to be patient!

If your cactus is healthy and established, you can propagate quite aggressively. In some cases, the stump can be cut down to around an inch tall and still regrow. That said, if you’re new to this, play it safer.

A good rule:

What you’ll need


Steps of this tutorial

1

Pick the cactus to cut

2

Use a clean blade

3

Make the cut

4

Dust the cut end

5

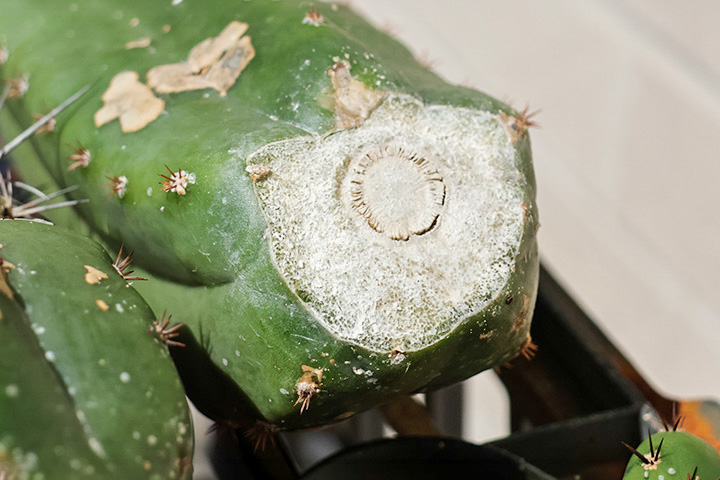
Let it callus

6

Pot it in a well-draining mix

7

Transition it back to stronger light

8

Move to a forever home (optional)

Step by step tutorial

1. Pick the cactus to cut

Start with a healthy, well-established cactus that’s actively growing. Avoid propagating during cold weather or when the plant is waterlogged.

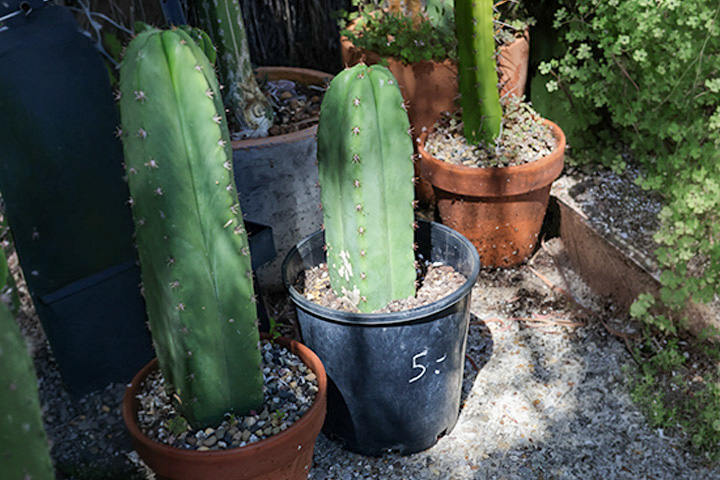
For beginners, choose a firm, chunky cactus with strong growth. Next, decide whether you’re removing an arm or cutting the main growth point. Both methods work the same way.

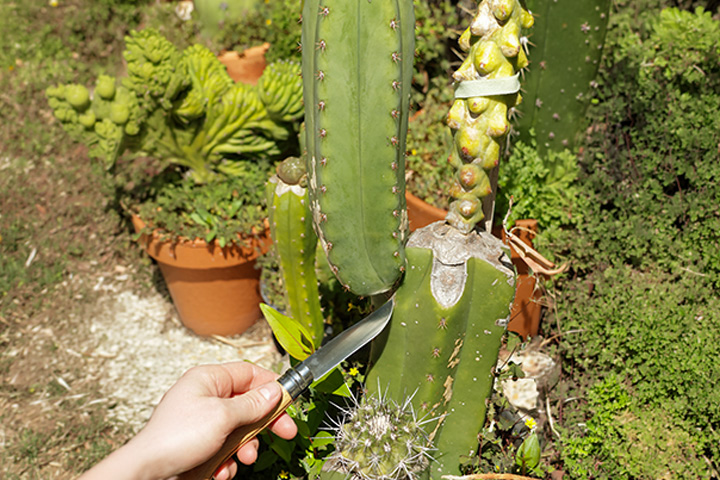
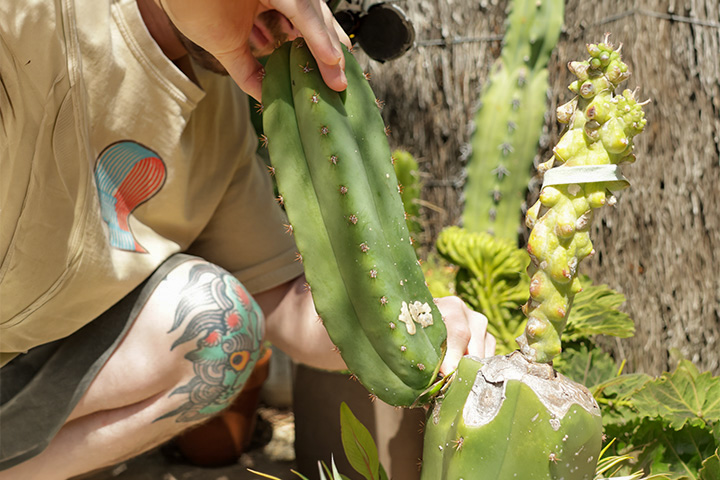
Here, we’re removing a lateral arm from a San Pedro cactus (Echinopsis pachanoi) so the plant can direct more energy into the graft.

2. Use a clean blade

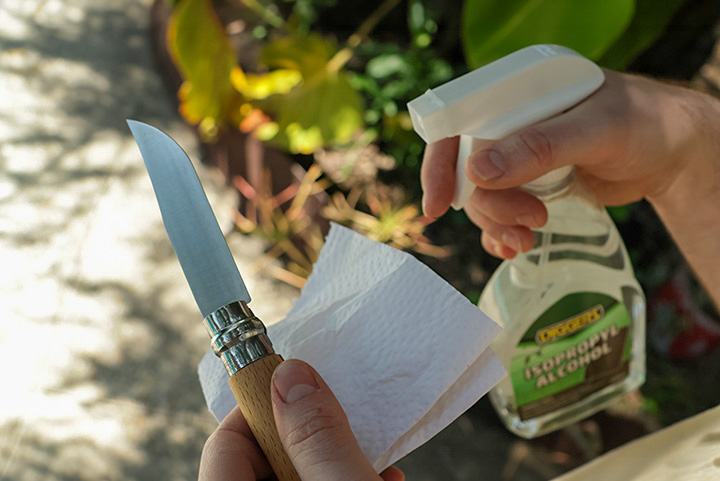
Your blade needs to be clean, long enough, and sharp enough to make one smooth cut.

For beginners, a serrated bread knife is actually a great option because it gives you a bit more control on thicker stems. If you’re confident, a sharp straight blade is even better.

Whatever you use, clean it first. You do not want to smear bacteria into a fresh wound.


3. Make the cut

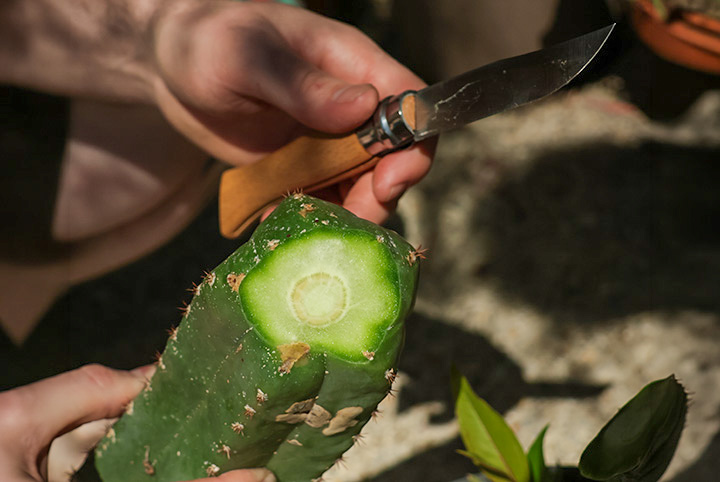
Make one clean cut rather than hacking away at it. A neat cut heals faster and is far less likely to rot.

The important part is making sure your cutting includes some of the juicy central flesh, known as the meristem. That’s the living inner tissue the plant needs to keep growing.


4. Dust the cut end

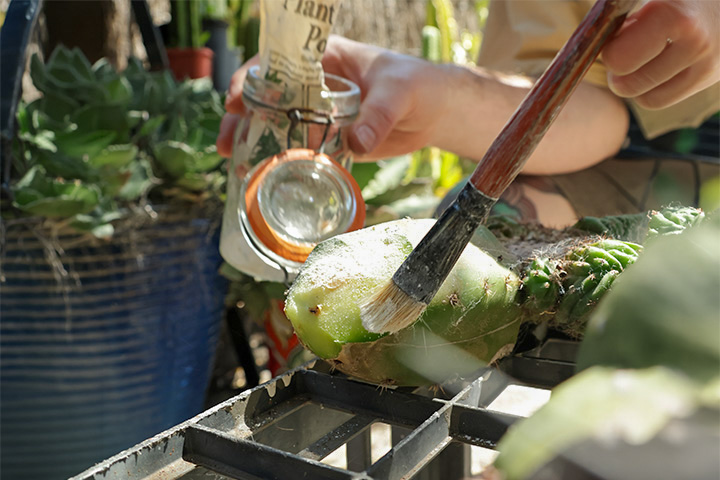
Dust the bottom of the cutting with a powdered rooting hormone. This can help dry the wound and encourage root development later.

You can use Clonex Gel instead, but powdered hormone is usually the easier beginner option for cacti.

5. Let it callus

This part matters a lot. Leave the cutting in a cool, dry place with good airflow so the wound can callus over properly. We recommend leaving it for at least two weeks!

You want that cut end to dry firm before it ever goes near soil. Rushing this step is how people end up losing cactus cuttings.

6. Pot it in a well-draining mix

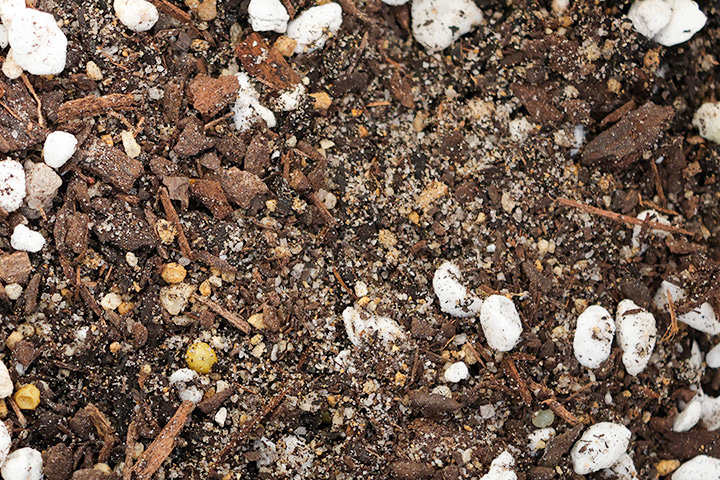
Once callused, plant the cutting into a free-draining mix. Propagation sand, perlite, or a cactus-specific potting mix all work well.

Lightly dampen the mix before planting, then pop the cutting in. Do not water it again straight after planting.

You won’t need to water it for a few weeks after first planting it. After that, you can continue watering every 2-3 weeks or when the soil is completely dry.

7. Transition it back to stronger light

Keep the cutting in a bright, semi-shaded position for about a week. Avoid harsh direct afternoon sun while it’s still settling in and trying to root.

Over the next 3 to 4 weeks, gently move it into more sun. Nice and slowly, like every other step.

8. Move to a forever home (optional)

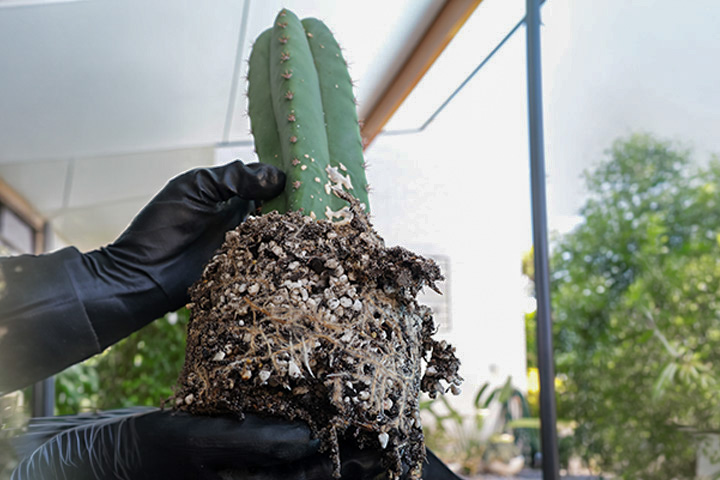
If all goes well, your cutting should establish over the next 3 to 6 months.

At that point you can pot the cutting up into its forever home. We prefer to grow our cactus in large terracotta pots.

Conclusions

Give it a go this growing season

CATEGORY:

Plant Care


How to Apply Keiki Paste

×