How to Propagate: Stem Cuttings Method

Propagation is a wonderful technique, reducing the necessity to buy new plants by giving you the power to create new ones, at home. Especially handy, when it comes to pruning back your plants, instead of throwing out all the old stems you might be able to make some new plants and grow your collection. 

Propagation in a nutshell refers to the process of cloning or duplicating your plants. Just like humans, not all plants are the same and so you can imagine there a quite a few different methods to achieve the same outcome including stem cuttings, division, bulbil, air-layering, and cloning vining plants. You can also propagate using seeds, though you’ll notice a lot less consistency with this method.  

This guide will focus on the most popular, and arguably the easiest method - stem cuttings, from both softwood and hardwood. 

Which plants would this method be used for?

Species such as Ficus, Geraniumn, Hibiscus and Money Tree Plants.
What is the difference between softwood and hardwood?

You may have noticed plants like your Copper Leaf Plant, Bougainvillea or Rubber Tree Plant all start the growing season with fresh green stems which their leaves grow from. As these plants mature and as the seasons change, they form protective coats over these stems, like the bark on a tree. 

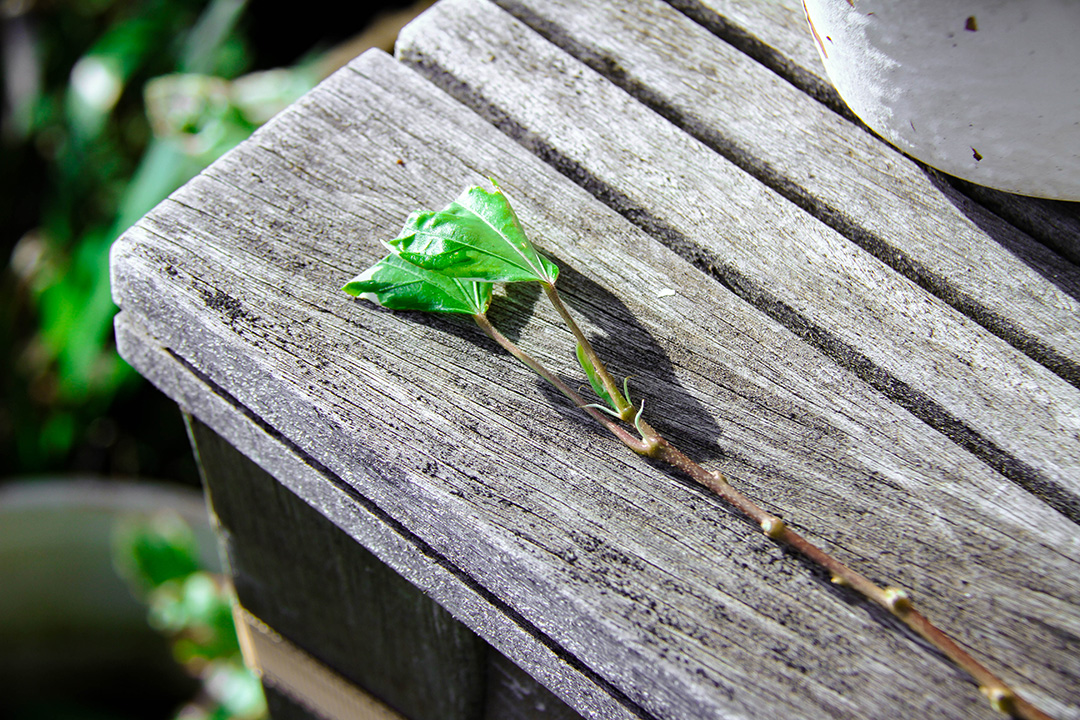
If you were to take a cutting from one of these plants during the spring or summer months, especially while the stems are soft and green. This would be considered a softwood cutting. 

And if you cut a tip off one of their branches during the autumn or winter months, specifically once it no longer has foliage growing out of it. This would be considered a hardwood cutting. 

Although it all sounds a bit technical, the process of propagating each of these cuttings is fairly similar. We will note by saying it’s a lot harder to propagate anything in winter unless you have a climate-controlled greenhouse, as your plants need warm, sunny, and humid conditions to promote new growth. The same goes for propagation. 
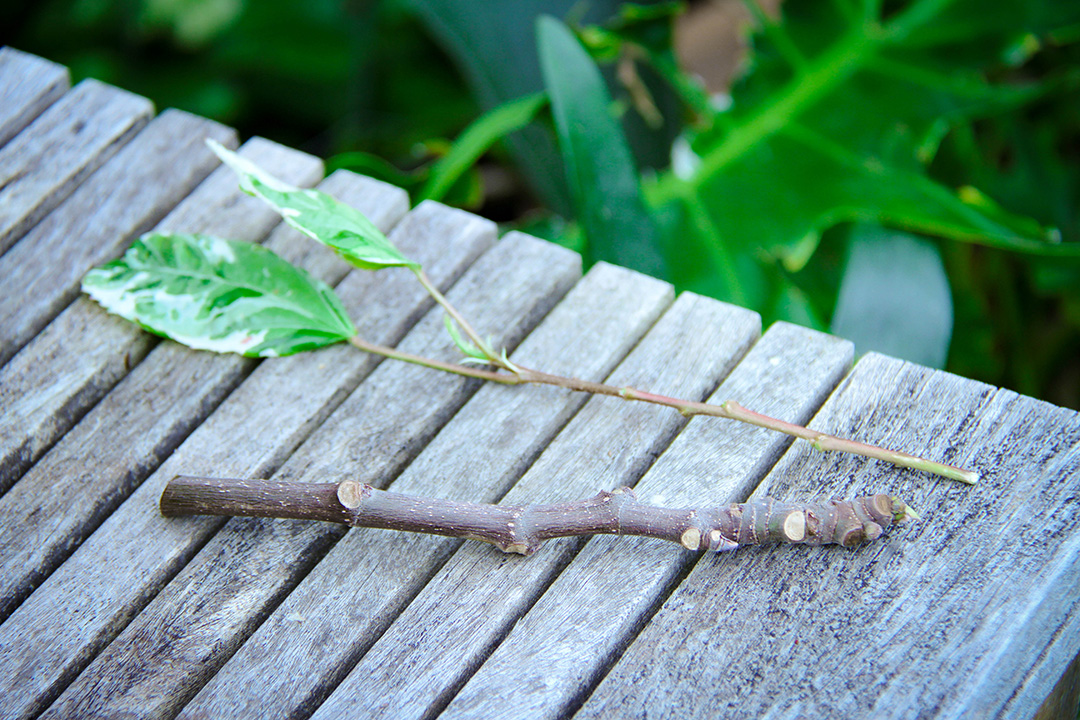
Propagating hardwood cuttings 

This process can be challenging, as mentioned earlier propagating anything in winter can be difficult because of the cold and often wet conditions. Propagations require moisture but you will experience rotting quickly if the medium you are using stays wet for too long. Regardless, if you have a warm and sunny location in your home during the winter months, there’s no reason why this process won’t work for you! 

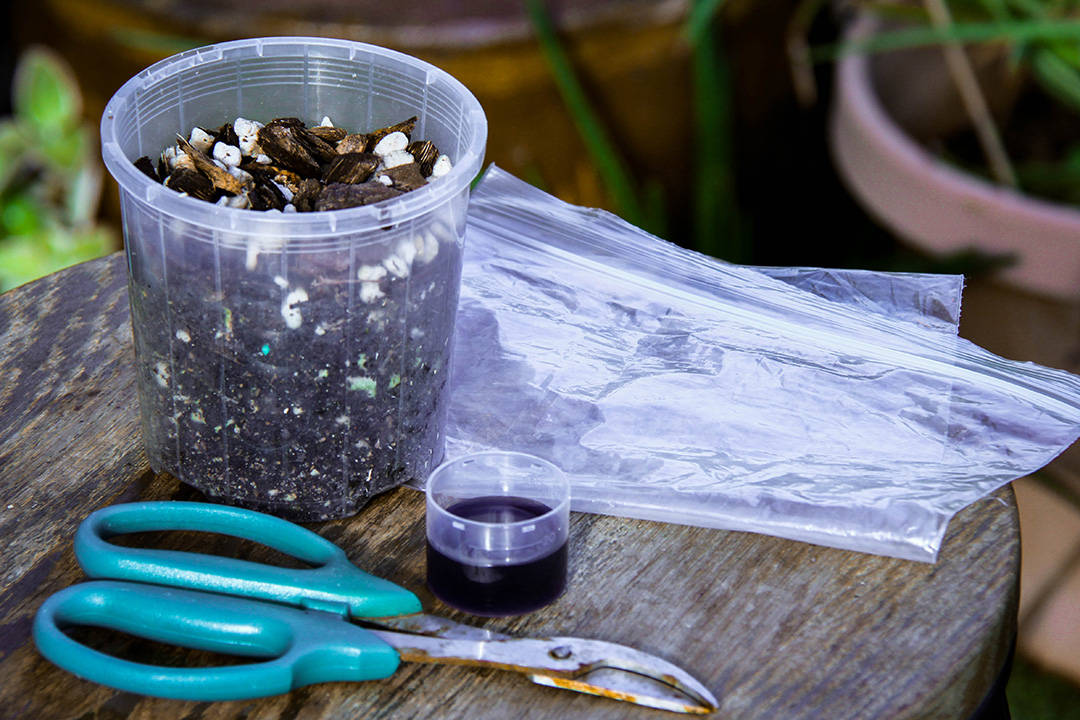
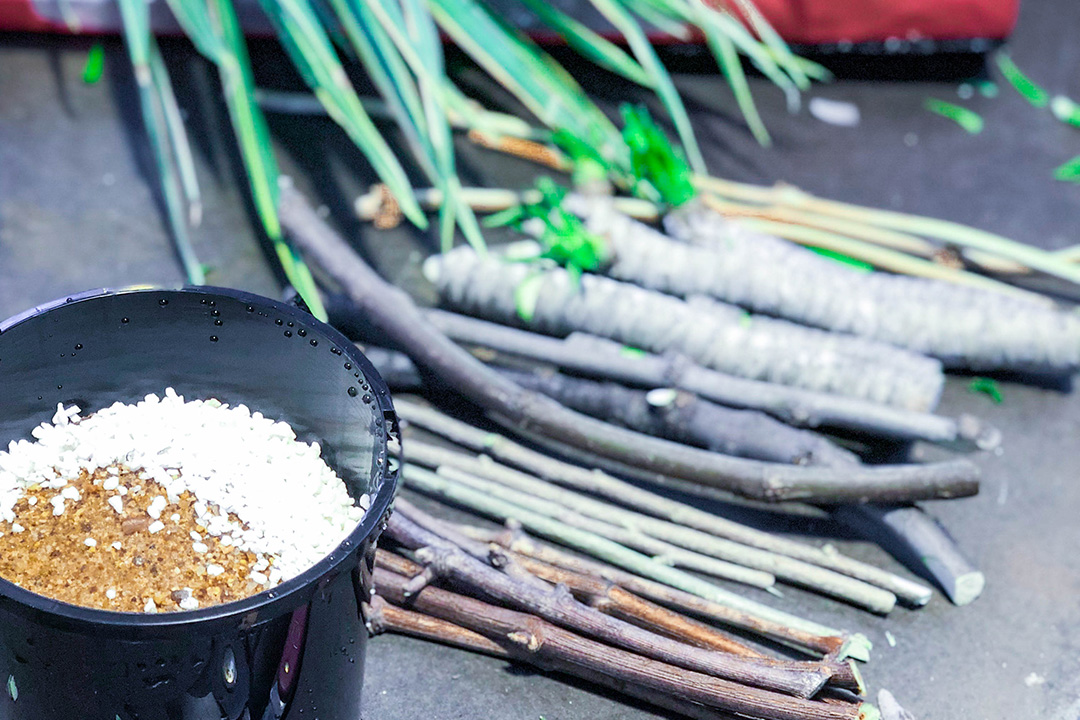
Things you'll need:


Steps of this tutorial

1

Take cutting(s)

2

Trim the leaves and apply rooting hormone

3

Plant the cutting

4

Tend the cutting

Step by step tutorial

1. Take cutting(s)

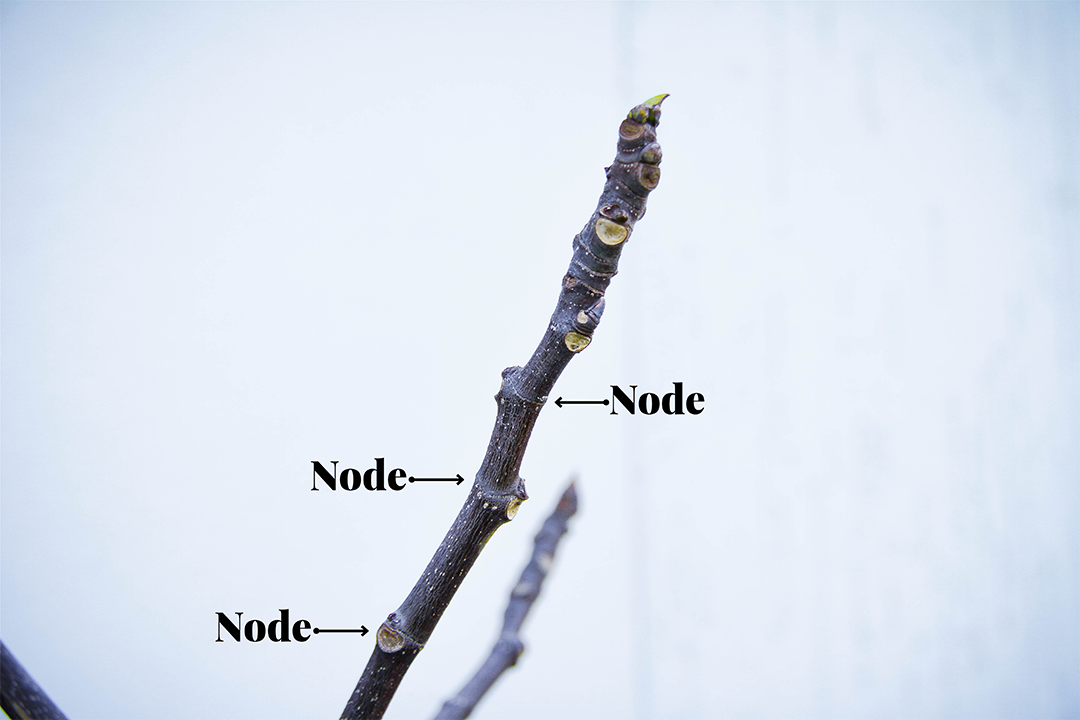
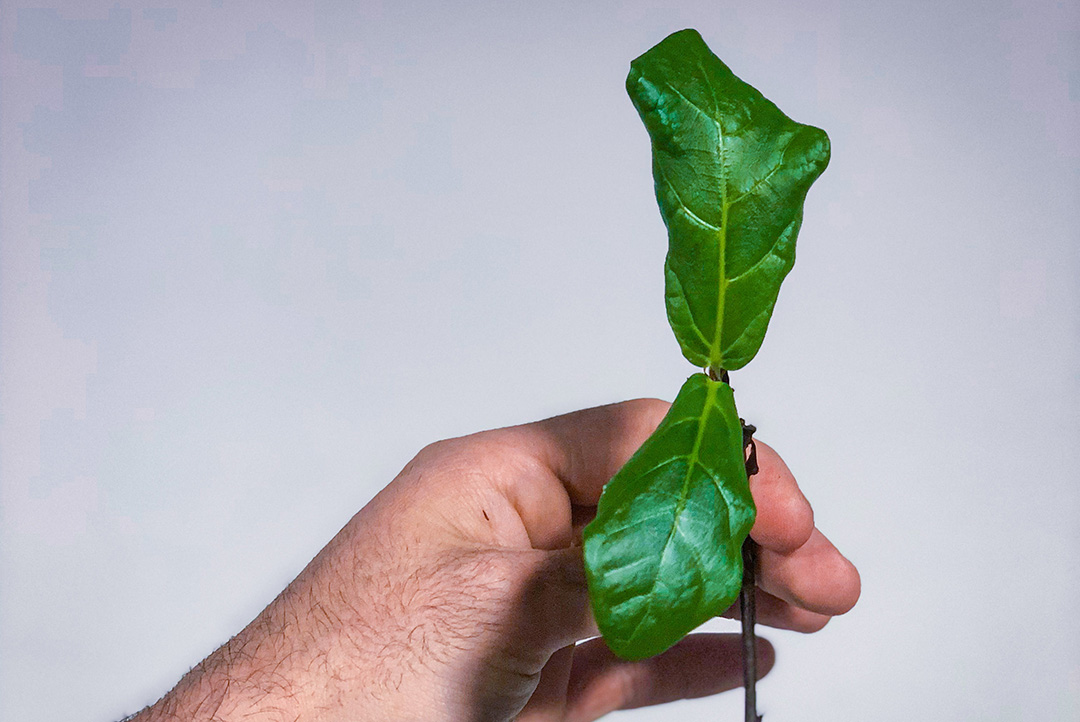
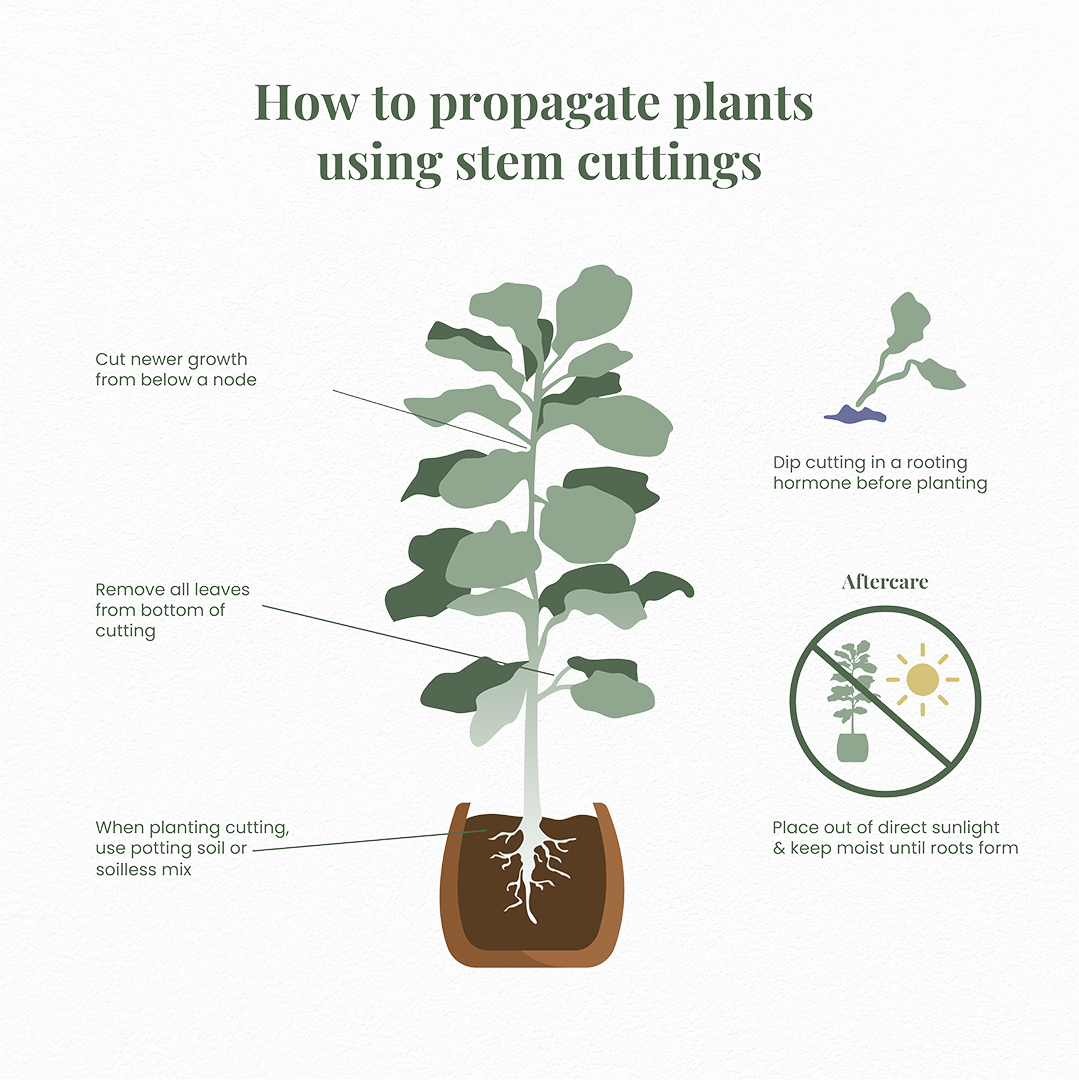
Find yourself a decent tip for cutting. You may leave one or two leaves toward the growing end. Try to make sure your cutting has at least four to six nodes within the stem. This will usually be around 10cm, cut as close to the lowest node as you can on a 45-degree angle with a sharp, clean pair of secateurs or scissors.

2. Trim the leaves and apply rooting hormone

One or two leaves at the top is fine, but you’ll want to make sure you remove any foliage from the lower half of your hardwood cuttings. Remember, this process also works with cuttings that have no leaves such as your deciduous trees. Now that you have your cutting prepped you want to ensure it focuses on forming roots and stops the process of generating new foliage, to do this we’re going to make a small wound at the bottom of the stem and submerge our cutting in some rooting hormone (gel or powder works fine for this style of propagation) and finally if there are any leaves left on your stem make sure to cut them in half horizontally. This stops the plant from transpiring out of the leaves, and once again forces it to concentrate on root production.

3. Plant the cutting

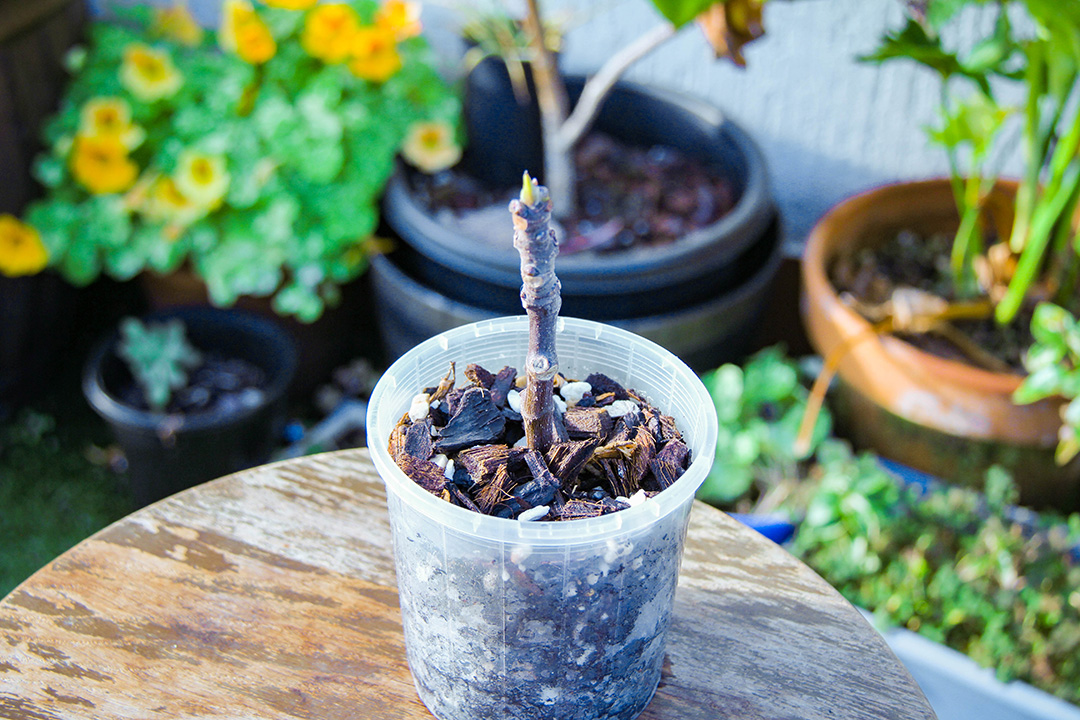
The last practice for hardwood propagation is environment, make sure you have a small nursery pot filled with some well-draining medium such as a mixture of peat moss and perlite. Poke a hole in the centre of this medium and stick the cut end your stem into it, make sure the hole is deep enough to support the cutting and if not, you can cut the stem a node shorter.

4. Tend the cutting

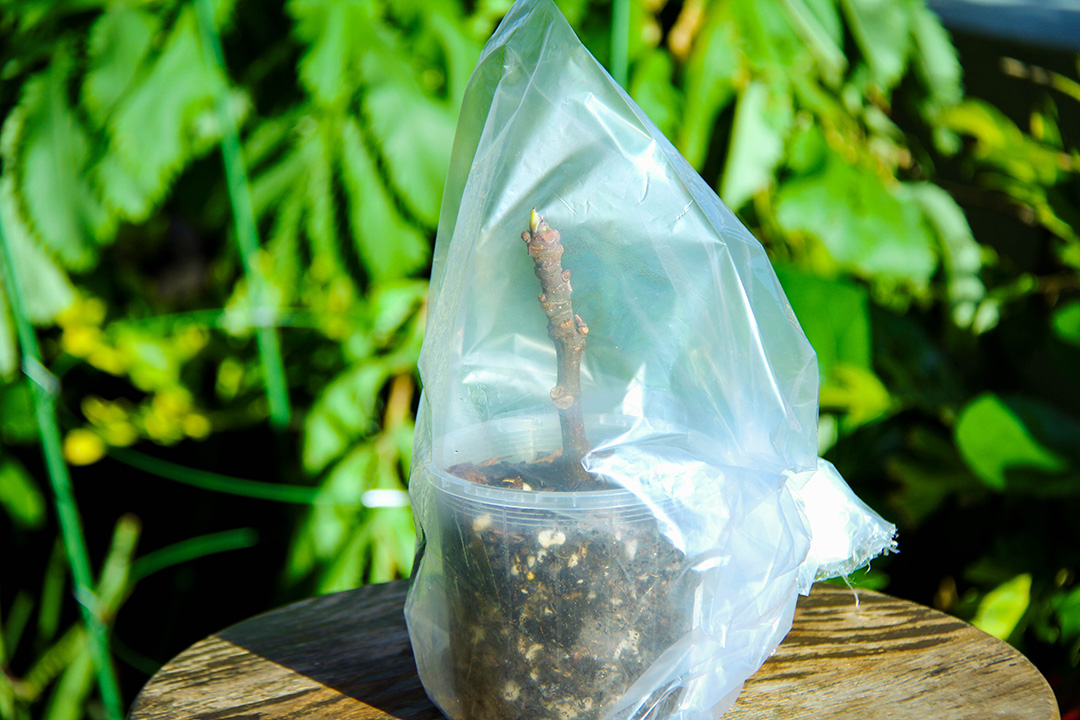
Leave the cutting somewhere warm, with a decent amount of sunlight such as a windowsill or patio area. The most crucial aspect to consider is humidity for successful hardwood propagation, you can either use some sort of greenhouse if you have one available but if not. A see-through plastic bag placed over the cutting creates the perfect little microclimate, just remember to water your new plant or at least mist the soil lightly so it doesn’t dry out. Depending on the conditions you leave this cutting in you should have new growth forming out of one of the visible nodes within a few months or as the weather starts to warm up.

Conclusions

Hope this helps, give it a crack and let us know.

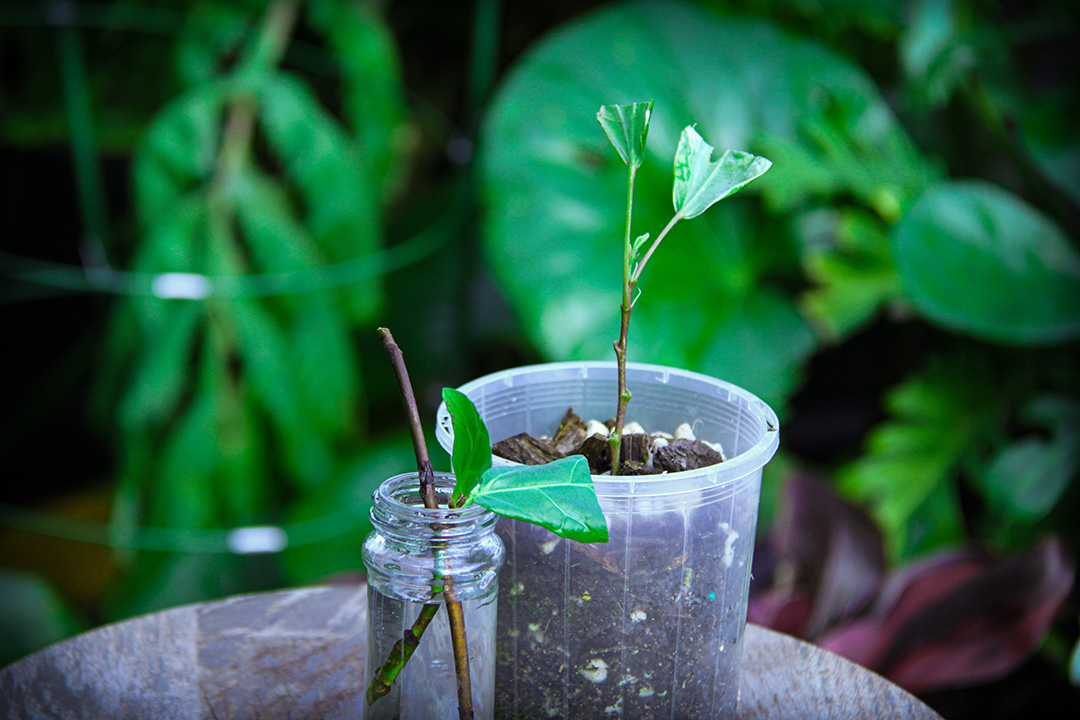
One last note, for those interested in softwood propagation, it is a similar process. Albeit, this method utilises the growing seasons and can be accomplished much more quickly.

Whilst it is more-or-less the same as hardwood cuttings, it’s important to mention a few of the key differences: 

CATEGORY:

Plant Care


How to Propagate: Climbing Plants & Vining Method

How to Take a Cutting: The Perfect Cut

×