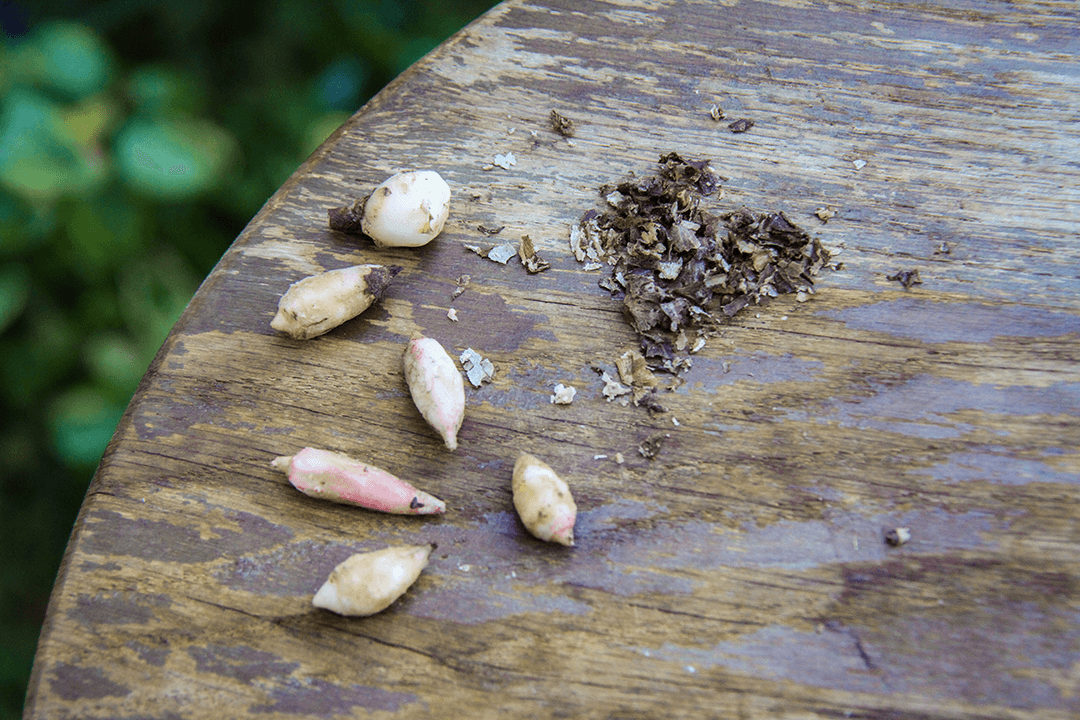
How to Propagate: Corm Method

Propagation is a wonderful technique, reducing the necessity to buy new plants by giving you the power to create new ones, at home. Especially handy, when it comes to Repotting your tuberous plants as you’ll usually find a few corms in the surrounding soil and can use these to reproduce new ones. 

Propagation in a nutshell refers to the process of cloning or duplicating your plants. Just like humans, not all plants are the same and so you can imagine there a quite a few different methods to achieve the same outcome including stem cuttings, division, corm, air layering and cloning vining plants. You can also propagate using seeds, though you’ll notice a lot less consistency with this method.  

Which Plants Have Corms? 

This guide will focus on the practice of harvesting and replanting corms from plants like Alocasia, Caladium and Colocasia.
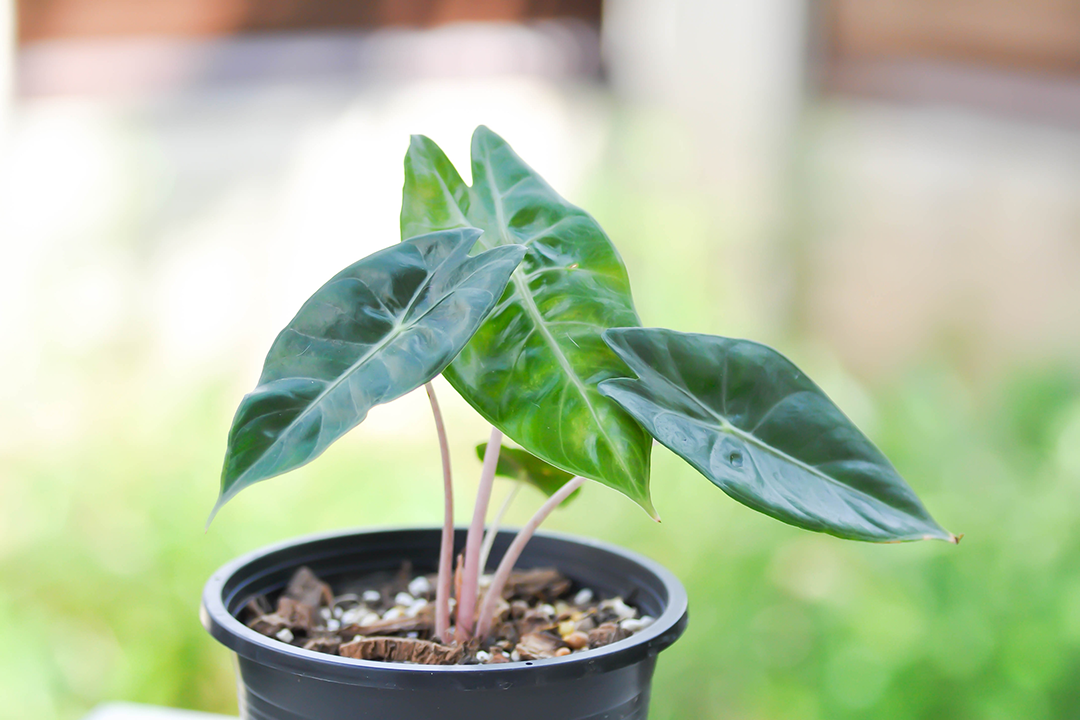
Corm Propagation 

This method is very exciting, as it’s almost identical to the process of watching a seed grow. It can be challenging to retrieve your corms from within the soil of your plants though, so care must be taken as not to damage or stress anything. 

Steps of this tutorial

1

Retrieve corms

2

Cut the corms

3

Separate the corms

4

Fill pots with new medium

5

Make indents for the corms to grow

6

OPTIONAL: Peel the corms

7

Plant the corm

8

Provide moisture & humidity

9

Check back for results

Step by step tutorial

1. Retrieve corms

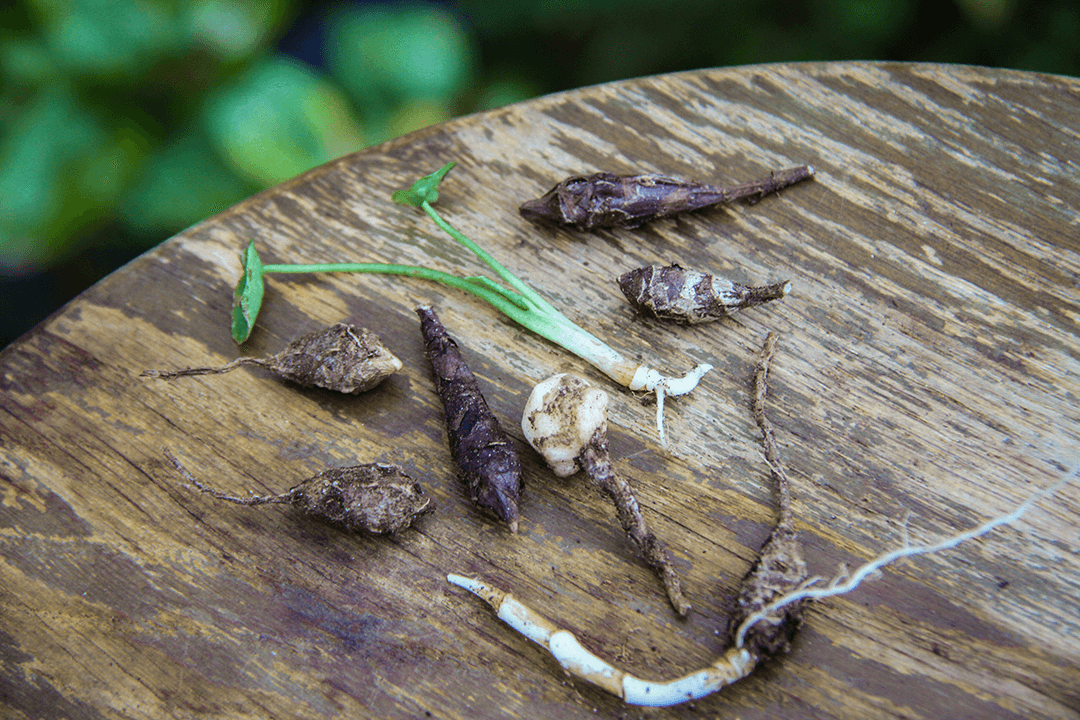
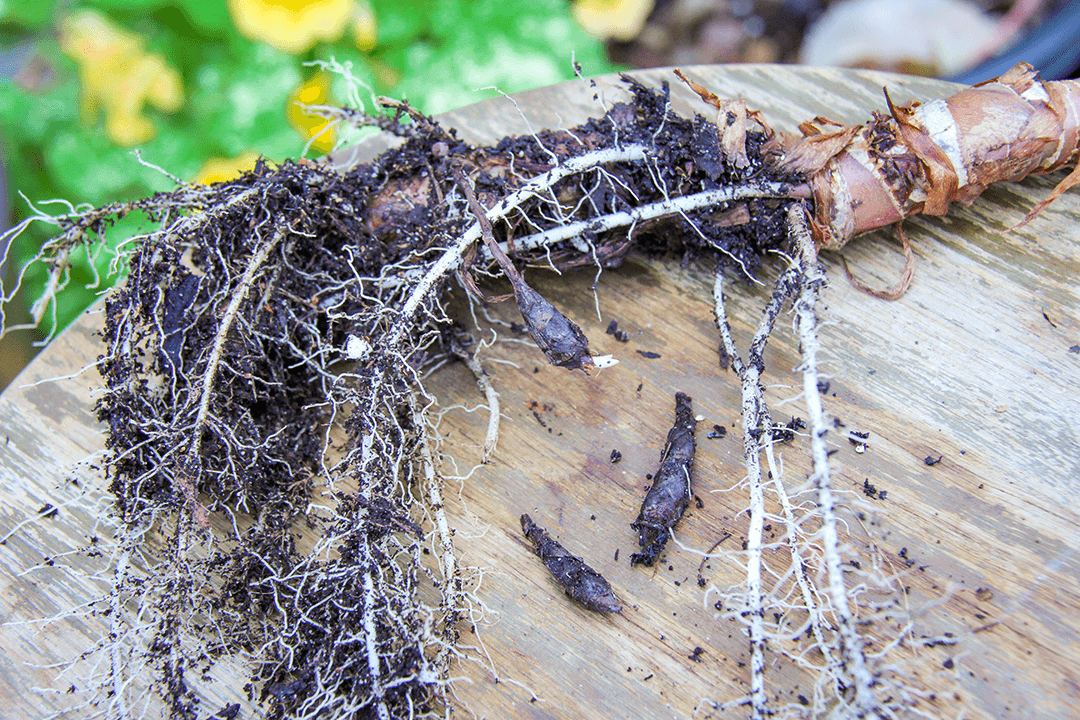
First things first we have to retrieve our corms, these grow beneath the ground and form separate plants to the main tuber. If left to grow they will create their own root system and form a new plant in the same pot. Often referred to as pups because they still receive nutrients from the main stem!

2. Cut the corms

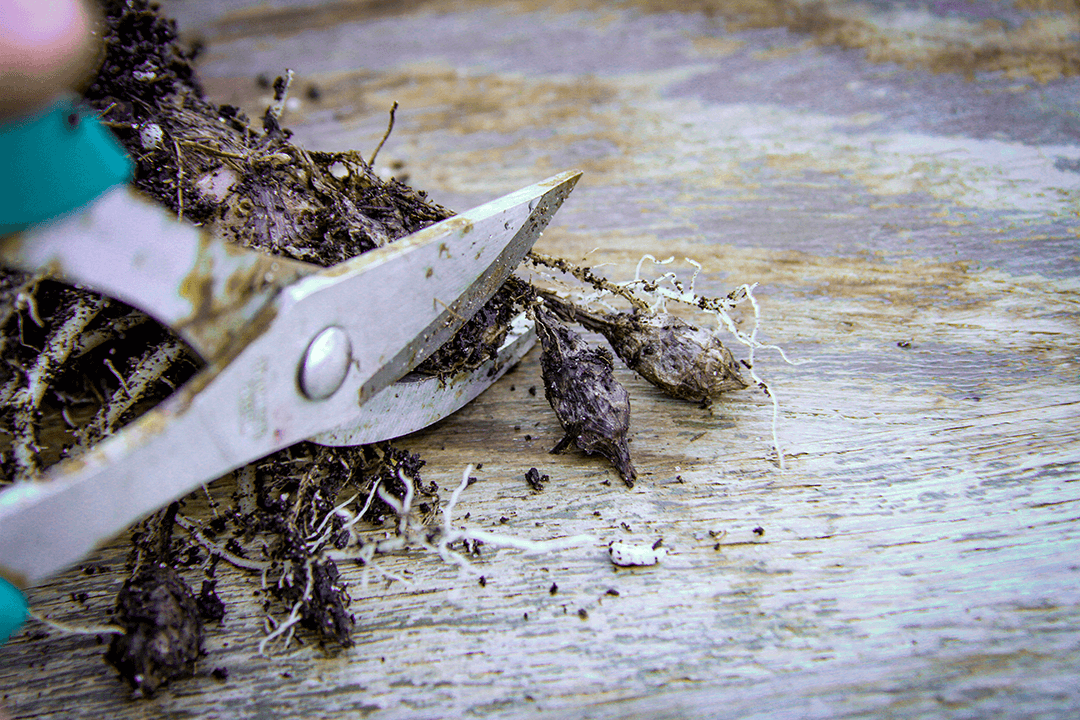
To separate these corms from the mother plant, you’re going to gently uproot your entire plant and begin to pull away soil from the roots. Remember the more careful you are the less stress the plant will endure and the faster it will begin to grow again. Once you have removed most of the soil surrounding the roots you should be able to see two or three small corms growing on the ends of thicker roots, they will either be towards the bottom of the pot or sitting close to the mother bulb. Just like we did with our cuttings grab a clean pair of scissors or secateurs and cut them off just below the swollen corm, it doesn’t matter if you take some of the old root with you but refrain from snapping or pulling them off.

3. Separate the corms

Once you have collected your corms, repot the mother plant and give it some to water to avoid stress. It may take a week or so for the mother plant to start growing again as it will need to resettle into its soil after this treatment. Now that you have separate corms, grab yourself some small pots or a tray you can fill with moist potting medium.

4. Fill pots with new medium

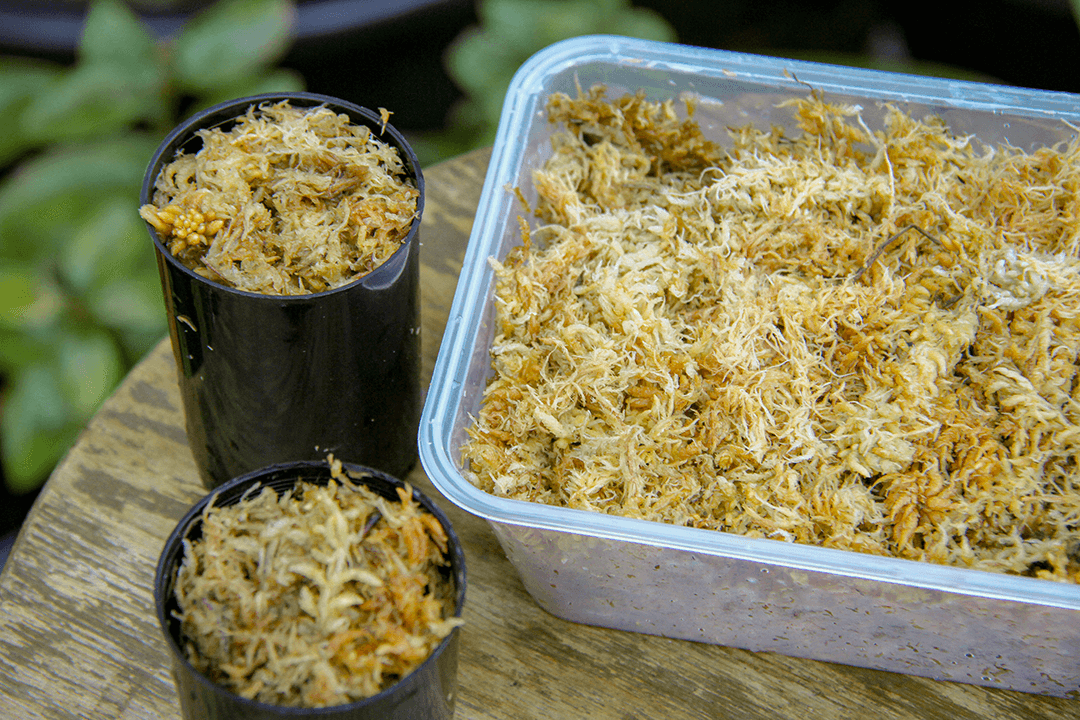
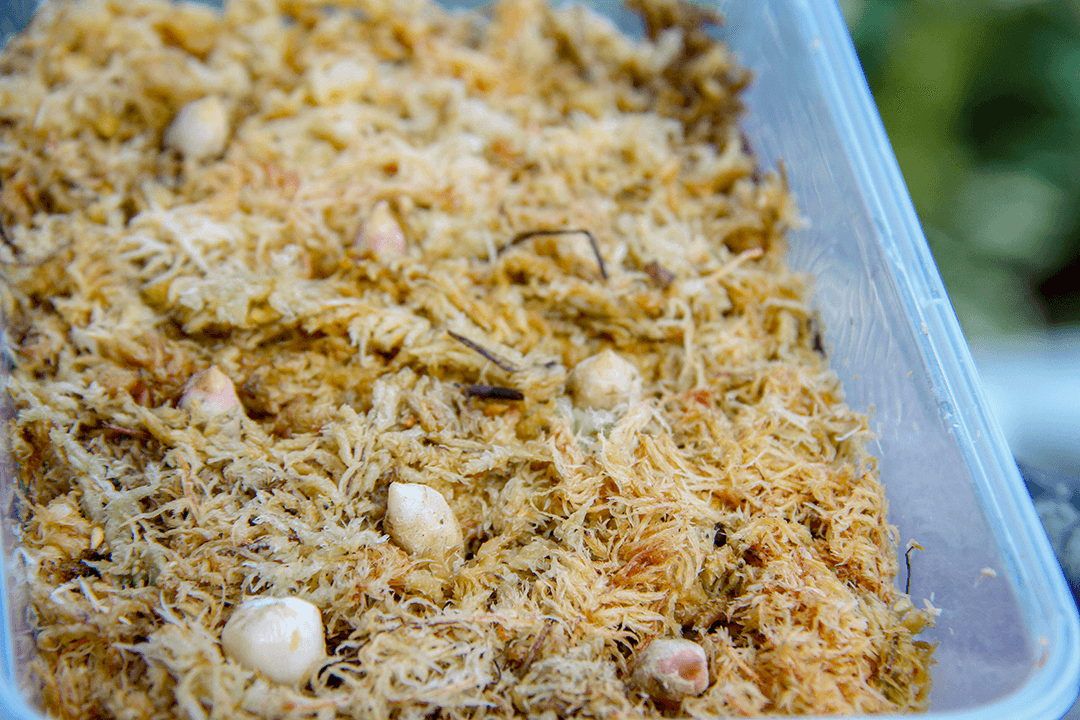
You can grow all of your corms in the same large tray, or use one small pot per plant. We recommend using coir or sphagnum moss for your medium as it retains moisture for longer.

5. Make indents for the corms to grow

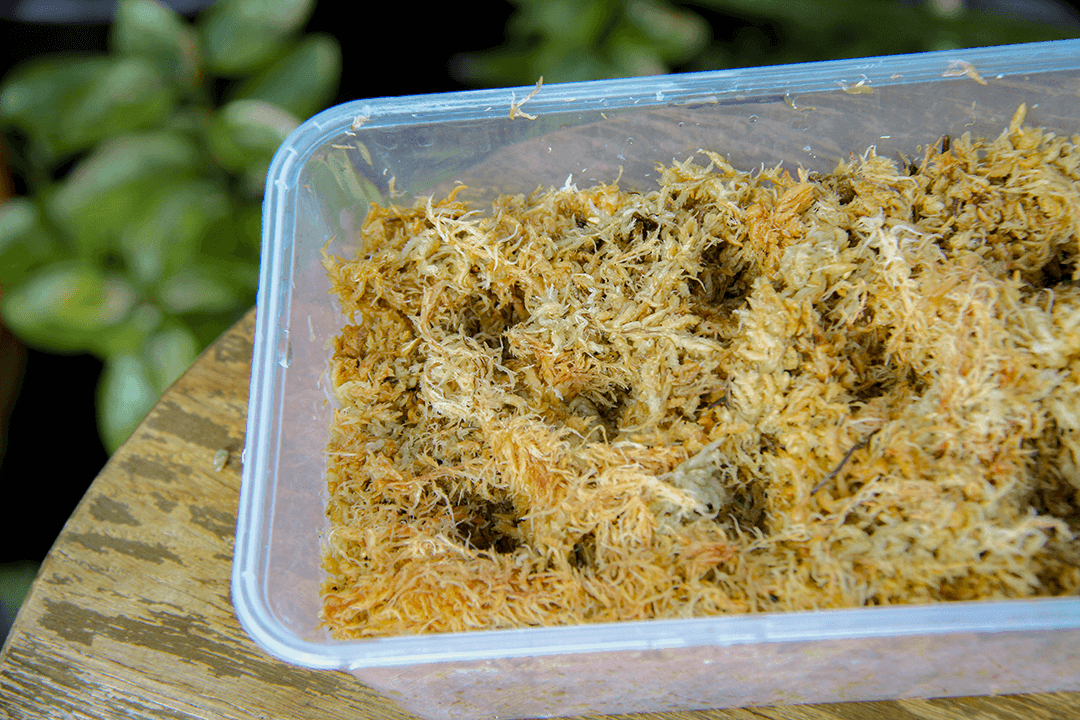
Once you have your pots filled with moist medium make a small indent to support the corm in the centre of the pot or roughly an inch apart from each other if you are using a tray.

6. OPTIONAL: Peel the corms

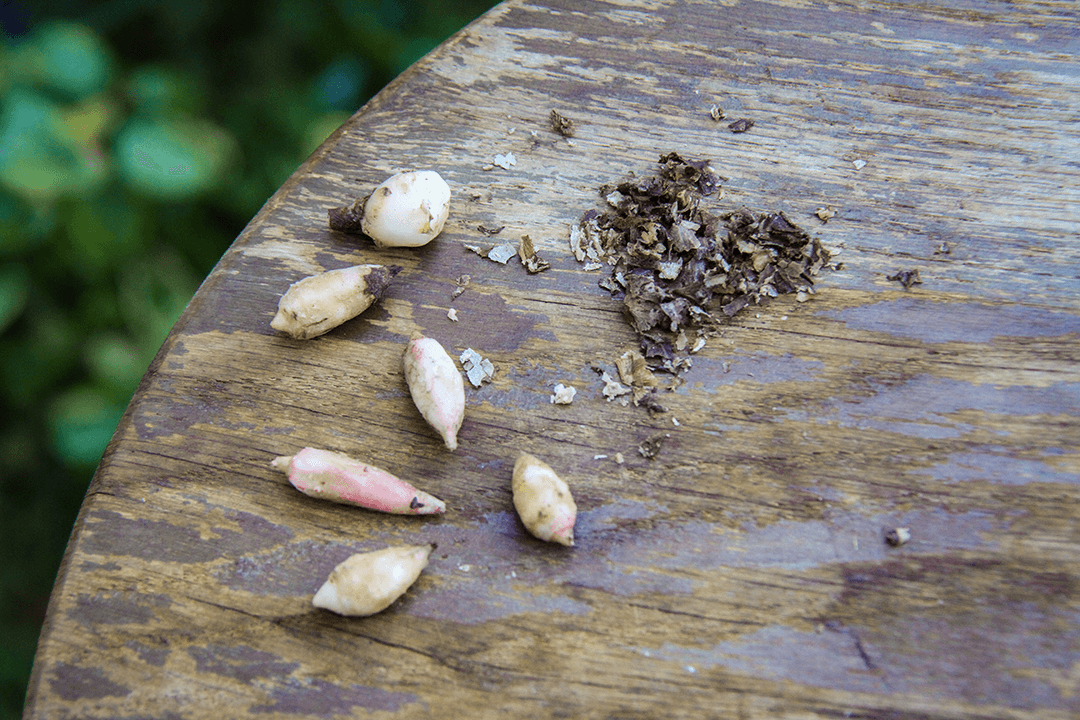
If you’re feeling game this step can speed up the process in which your corms will grow, simply scrape off their brown outer coating to reveal a fleshy white inner surface. Just be careful not to scratch too hard or you may damage the bulb itself.

7. Plant the corm

Once you’ve prepared the corm, place it upon the indent and press down lightly you wedge it in so the bottom half is covered. The top of the corm is the pointed tip and this should be protruding upward.

8. Provide moisture & humidity

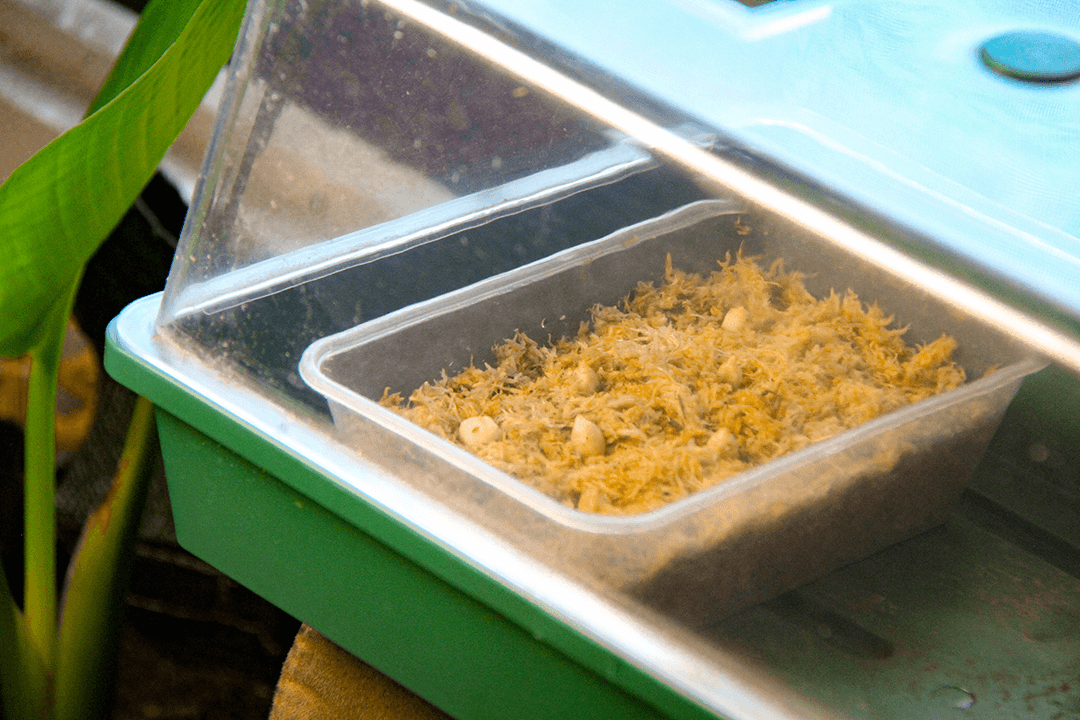
Make sure you keep this medium moist and place it in a warm humid location with indirect sunlight, you can use a see-through plastic bag in order to maintain high humidity around the pot whilst the corm grows.

9. Check back for results

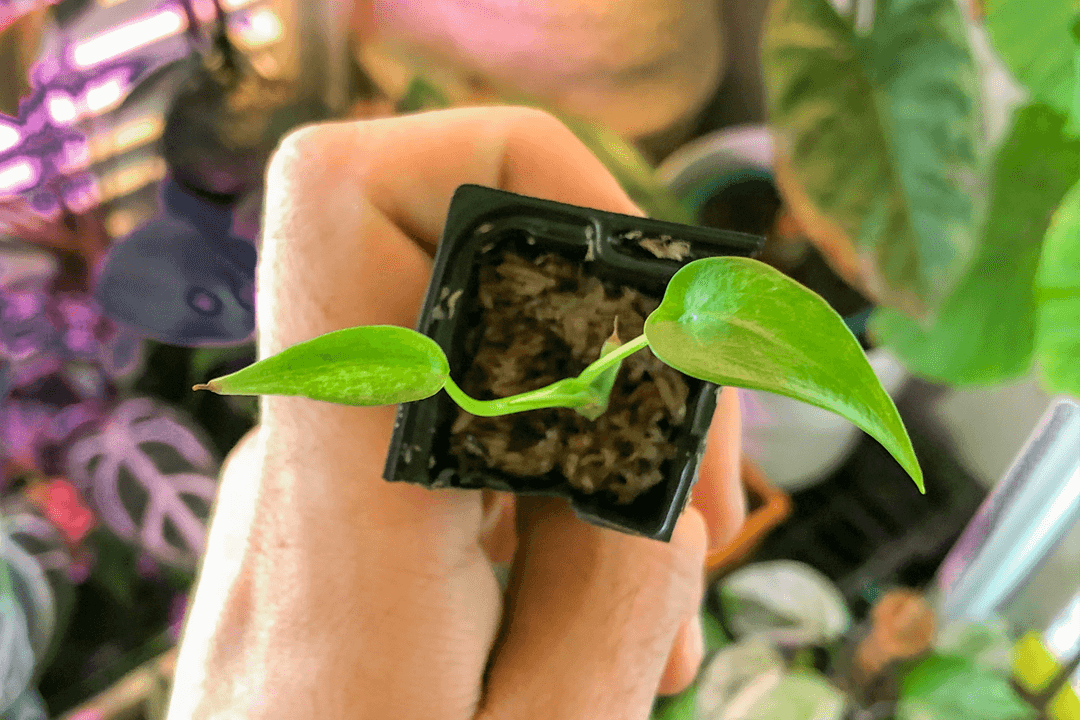
You should be able to pot your corms into soil after a month or so, once they have formed at least two leaves.

Conclusions

How f-in cool is that!

CATEGORY:

Plant Care


How to Take a Cutting: The Perfect Cut

How to Deal with Plant Pests

×