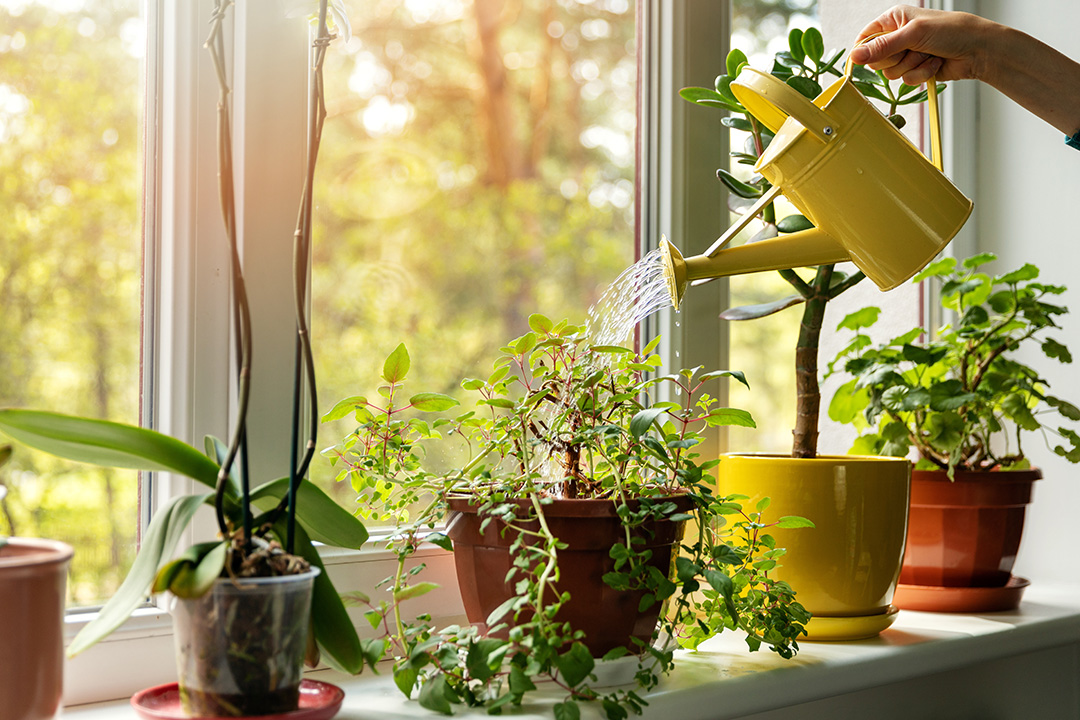


Everyone knows their plants need water; the real challenge has always been knowing how much and how often.
Lucky for you, Willow has your back! We know how much moisture your plants need and when it’s time to water. Your Sensor will alert you when your plant is thirsty, when it’s been too moist for too long and if you’ve given your plant a drink before it was ready.
This watering guide breaks down how to water your plants correctly but if you prefer learning through video, we’ve also got a great visual guide.
When to Water
Ditch the schedule. There are too many factors to consider, and you more than likely will over-love your plant.
There are nuances for each plant species, but your plant’s watering needs will generally fall into one of three categories. Just note that these categories and the provided specs will shift with seasonality.
Evenly Moist Soil
Some plants, like Ferns or Calatheas, prefer their soil to be always kept evenly moist. This means you’ll be paying them a visit with the watering can much more frequently. Water once the soil has dried slightly and avoid letting the soil dry out completely.
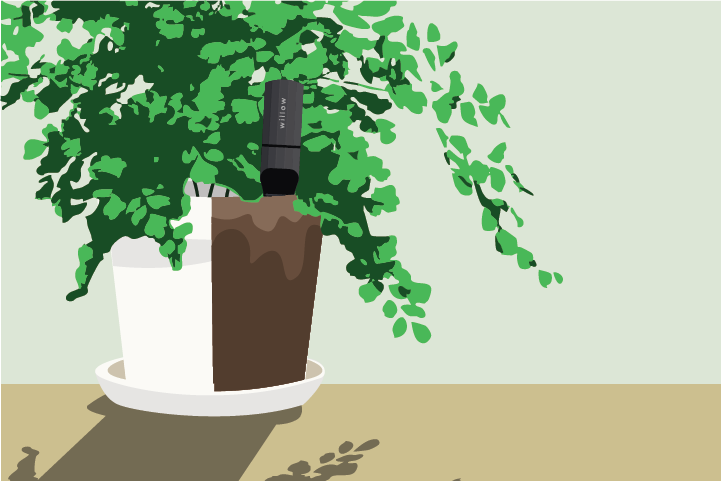
Each plant species will differ but if you did have a Willow Sensor paired with a plant in this category, you could typically expect to water when soil moisture reaches 30-40% in a standard potting mix. In finer mixes, it’s closer to 45%, while coarse or sandy blends may sit around 20%.
Partially Dry Soil
Many popular houseplants like Ficus, Philodendrons and Monsteras prefer to be watered once their soil is partially dry. It’s a fine balance: aim for the top 6-8 cm (2-3 inches) to feel dry before watering.
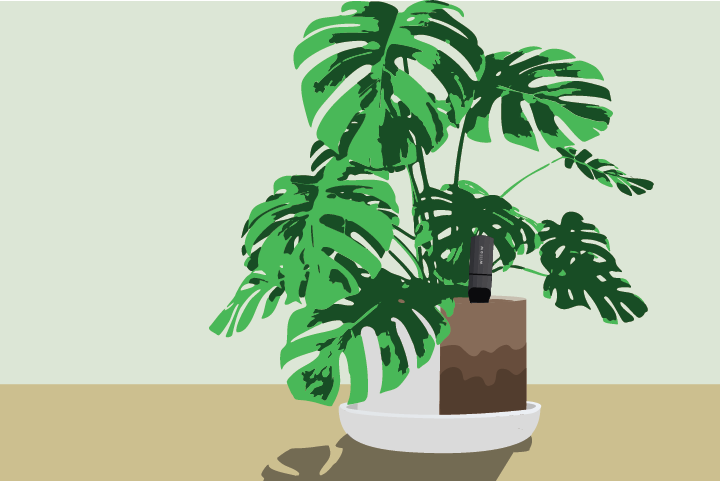
Your Willow Sensor will typically signal it’s time to water when soil moisture reaches 20-25% in standard potting mix. In finer blends, the threshold rises to around 30%, while coarse or sandy mixes sit closer to 10-15%.
Completely Dry Soil
Your desert native cacti and arid succulents prefer their soil to dry out completely between waterings. Wait until the soil mix is bone dry before picking up the watering can. For these species, a sandy blend is essential — it prevents the soil from becoming hydrophobic and ensures water can re-enter the mix easily.

Your Willow Sensor will typically signal it’s time to water plants in this category when soil moisture reaches 15-20% in standard potting mix. In finer mixes, the threshold rises to around 25%, while coarse or sandy blends require watering much later, at roughly 10%.
How Much to Water
Watering Thoroughly
Once your plants are in the right soil mix (check your care info for specifics), the best way to water them is to do so thoroughly. This means evenly saturating the entire mixture until water flows through the drainage holes.
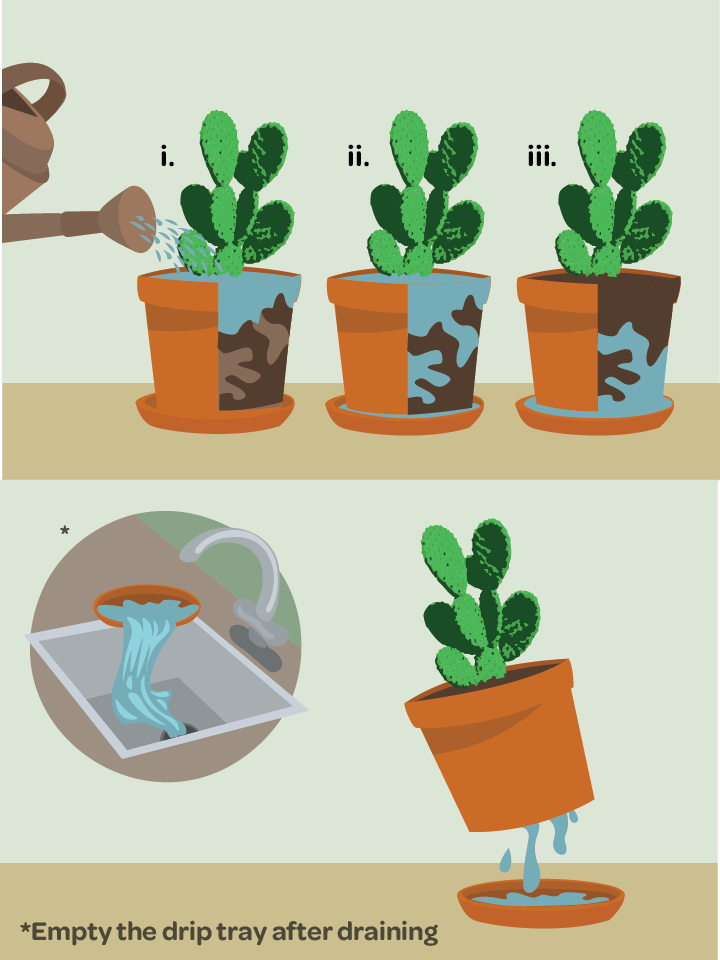
Avoid leaving your plant sitting in excess water. Empty the saucer, pot or tray once it has fully drained.
For an even better approach, take your plant to the shower or outside to a garden hose. This lets you fully moisten the soil and ensure complete drainage before returning them to their indoor home.
Watering with a Willow Sensor
If your plant has said it’s thirsty, but you’re not certain it’s as dry as it should be, give our Repositioning Sensor guide a read. It'll help you fully understand how water moves in your plant’s soil and what you can do to get the most out of your Sensor.
If you’re ready to water your plants, follow these steps.
Step 1 - Remove your Willow Sensor
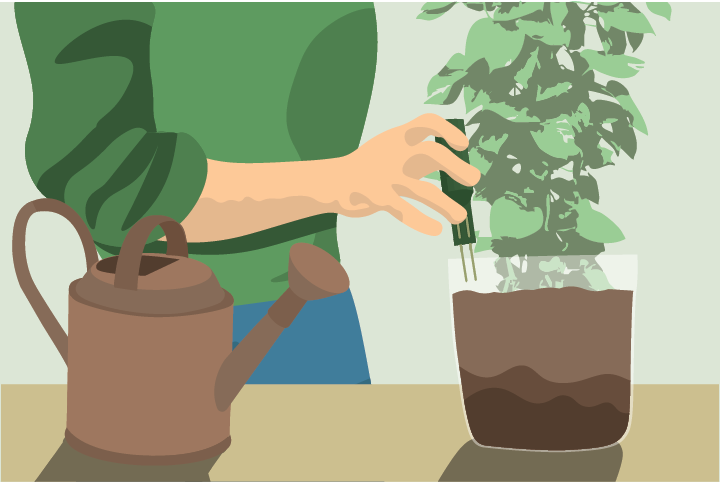
First, remove your Sensor from the soil before watering. It’s important not to water while the Sensor is in the pot, as this helps keep your readings accurate and prevents unnecessary exposure to moisture.
While the Willow Sensor is water-resistant, like any piece of tech it should be treated with care around water. Keeping it out of the pot during watering is the safest option
Step 2 - Pour your plant a big drink!
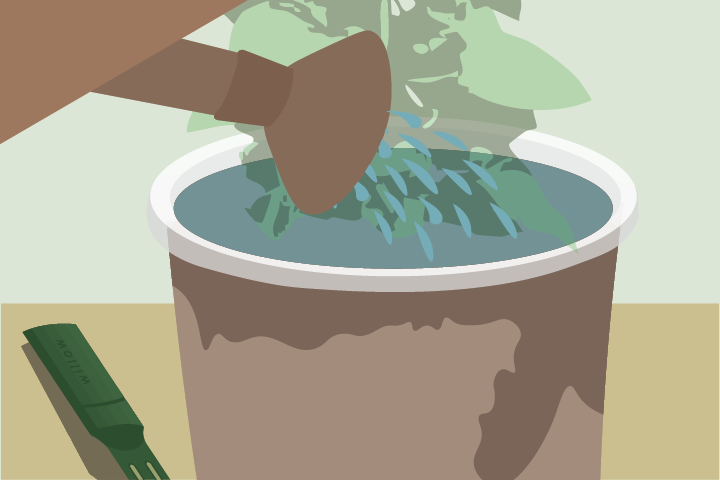
Give the soil a proper big drink, making sure the entire soil zone is thoroughly saturated. You may see water pouring out from drainage holes and interpret this as a sign that watering is done but there can still be dry pockets beneath the surface. As a simple rule of thumb, slowly count to 30 when watering smaller pots, and up to 60 for larger planters, to ensure the water reaches all the way through.
Step 3 - Drainage time

Wait for the excess water to drain from the soil after watering, this usually takes around 10-15 minutes. Discard any water from your saucer or tray.
Step 4 - Settle the soil

Give your pot a few light taps on the sides to settle the soil after watering and then replant your Sensor.
Step 5 - Replant your sensor and get feedback
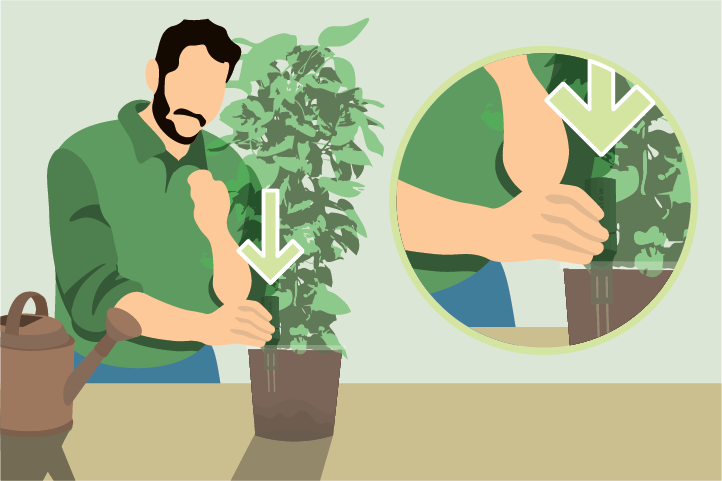
Once watering is complete, gently place your Willow Sensor back into the soil. You’ll know you’ve nailed it when Willow checks in around 20 to 40 minutes later to let you know whether the soil has been properly saturated.
If Willow says it wasn’t quite enough, you can top up with a little more water straight away. If it suggests giving a bit more next time, it’s best to wait until the next watering rather than adding extra now.

Further Care
Pot With No Drainage
Willow works best, and your plant better appreciates it when your plant has drainage holes in your pot. Should you not, you will need to adjust you watering strategy.
Firstly, don’t add a layer of gravel or the like to the bottom of your container as water trapped in here will go stale, a recipe for bacteria.
Next, you should water with far more caution. Liken your soil to a sponge that can only hold so much water, too much and your plant is sitting in a muddy pool. Take care not to pour in a volume of water greater than a third of the volume of your soil.
Time and Temperature of Water
When watering your plant, take care to use warm or tepid water as this absorbs into the soil the best and too hot or cold can shock the plant. Take care to water the soil, not the foliage. Wetting the latter can lead to fungal and other diseases.
Plants are also more receptive to watering in the morning as it allows them to bulk up on water before the sun shines in full force and cooks out the moisture. It’s also a good strategy, should your plant not get as much natural light as you’d like, because the multiple hours of daylight will help to pull the water out quicker, not letting your plant sit in wet potting mix too long.
Soil Structure
Lastly, your soil structure also plays a pivotal role in the effectiveness of your watering. Ideally, the soil is well aerated allowing water and oxygen to easily penetrate the soil and reach the roots.

If your soil has been left dry or the plant underwatered, the mix will begin to pull away from the container and the soil will become hydrophobic. In this case, no matter how much water you pour in, it will flow along the hardened surface and drain down the sides, leaving the root’s dry.
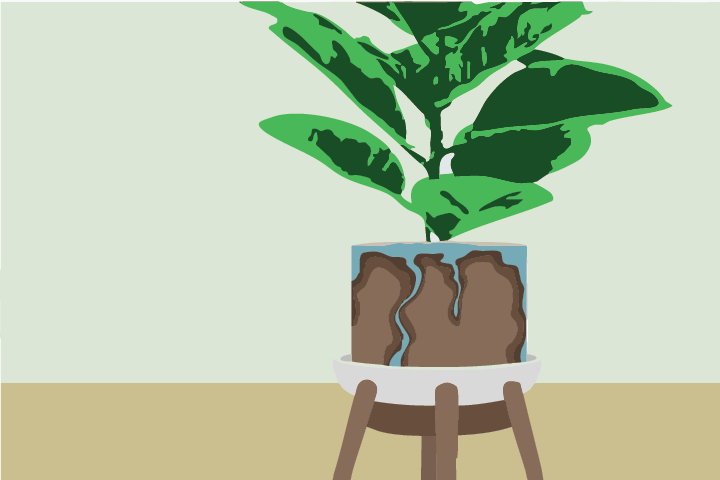
More often the case, you will have some parts of your soil become compacted over time. In this instance, the water penetrates the soil unevenly. Even if it’s enough water to find its way to any drainage points, there may be some pockets of dry soil. Roots living inside these dry pockets can still die, even though you have watered your plant.

The best solution to ensure even distribution is to gently poke a few aeration holes into the surface with a chopstick or equivalent blunt object. This allows the poured water to evenly distribute throughout the soil

